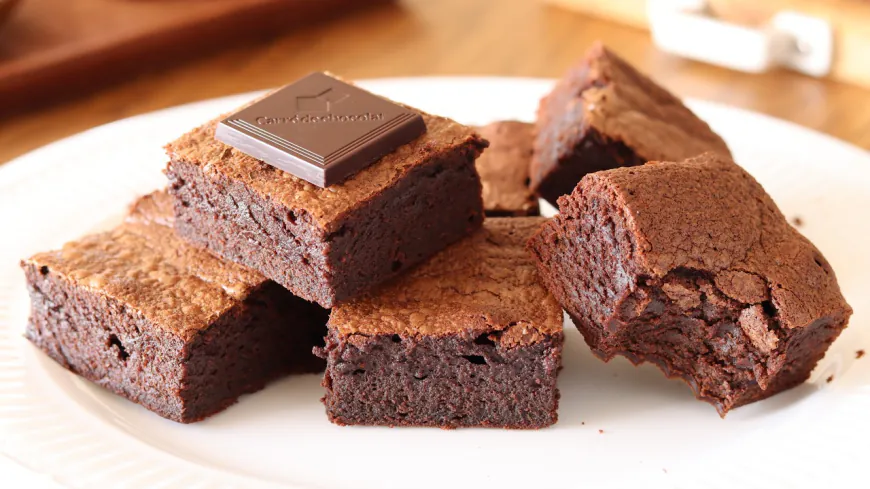
Chocolate Brownie Recipe
Chocolate Brownie Recipe - Indulge in rich, fudgy, and delicious chocolate brownies made with dark chocolate, rice flour, and potato starch. Perfect for dessert lovers, this easy-to-make treat is ideal for any occasion. Try this crowd-pleasing recipe today!

Chocolate Brownie Recipe is the perfect treat for chocolate lovers, offering a rich, fudgy, and decadent dessert experience. Made with premium dark chocolate and a blend of rice flour and potato starch, these brownies have a soft, melt-in-your-mouth texture with a slightly crisp top. The combination of brown sugar and granulated sugar provides the ideal sweetness, while a hint of vanilla enhances the deep, chocolatey flavor. Whether served warm with a scoop of ice cream or enjoyed on their own, these brownies are sure to be a crowd-pleaser for any occasion!
Ingredients
Nutritional Information
- Calories: 230
- Protein: 3g
- Fat: 14g
- Saturated Fat: 8g
- Unsaturated Fat: 5g
- Trans Fat: 0g
- Carbohydrate: 25g
- Sugar: 18g
- Fiber: 2g
- Sodium: 50mg
- Cholesterol: 60mg
Directions
-
Melt the dark chocolate and unsalted butter together in a bowl until smooth. Set aside to cool slightly.
-
In a separate bowl, whisk together the eggs, granulated sugar, brown sugar, salt, and vanilla extract until well combined. Gradually add this mixture to the melted chocolate and butter, stirring until smooth.
-
Sift in the rice flour, cocoa powder, and potato starch. Use an electric mixer to blend the ingredients thoroughly until a smooth batter forms.
-
Pour the batter into a greased or parchment-lined 15 cm cake pan. Bake in a preheated oven at 180°C (356°F) for 20–25 minutes, or until a toothpick inserted into the center comes out with a few moist crumbs.
-
Allow the cake to cool slightly before removing it from the pan. Serve and enjoy!
What's Your Reaction?
 Like
0
 Dislike
0
 Love
0
 Funny
0
 Angry
0
 Sad
0
Sad
0
 Wow
0
Wow
0


